Industrial design with AI — the discovery and the material hunt
A question — can an AI coding agent do real industrial design? — becomes a working write-render-inspect loop in an afternoon, and then the interesting part begins: hunting for the right material through renders and arguments about cost, timelessness, and how things feel in the hand.
I want to let AI coding agents (like yourself) create high quality industrial design renders. Are there any industrial design / 3D modeling environments which are defined by code, where you could in theory write some code, and I see a beautiful 3D render of a product?
Yes — this is a real and increasingly popular workflow, and there are two distinct layers to it: code-defined geometry (CAD) and code-defined rendering (making it beautiful). The trick is picking tools that do both, or chaining them.
Blender + Python (bpy) — my top recommendation for your goal. Blender is fully scriptable: an agent can write a Python script that builds geometry, assigns PBR materials (brushed aluminum, soft-touch plastic, glass), sets up studio lighting with HDRI environments, and renders with Cycles — a genuinely photorealistic path-tracer. It runs headless (blender --background --python script.py), outputting a PNG. This is the key for agents: a closed feedback loop — I write code, render, look at the image (I can read PNGs), critique it, and iterate. No human in the loop needed to get from code to "beautiful product shot."
CadQuery / Build123d (Python) — for real engineering-grade geometry. These are parametric CAD libraries on top of the OpenCascade B-rep kernel — actual fillets, chamfers, shelling, lofts, proper STEP export you could send to a manufacturer. They don't render beautifully on their own, but chain naturally: Build123d → export GLB/STL → Blender script for materials/lighting/render.
OpenSCAD — the original code-CAD tool. Simple, declarative, great for quick mechanical parts, but CSG-only (no real fillets, which matter enormously for product-design aesthetics). Zoo (formerly KittyCAD) / KCL — a newer code-CAD language explicitly designed for AI agents to write. Promising and worth watching, but younger ecosystem. three.js / react-three-fiber — code-defined scenes in the browser; instant feedback, weaker for hero renders.
For an agent-driven "write code → see a beautiful render" loop: pure Blender Python for simple forms and fast iteration; Build123d → Blender when geometry needs to be manufacturable. The agent loop: render at low samples while iterating (fast), inspect the PNG each cycle, then a final high-sample render. Everything above is free, installable via pip/brew, and runs headless on your Mac — happy to set up a working proof of concept if you want to see the loop in action.
I don't need manufacturing quality today. I want to be able to define the shape, materials, and other render parameters with parameters and code, and ultimately get beautiful renders.
Perfect — that's exactly Blender's sweet spot, and it means we can skip the CAD layer entirely. One Python script defines geometry, materials, lighting, and camera as parameters at the top; Cycles (a path tracer) makes it beautiful. Let me set up a working proof of concept so you can see the actual loop.
Ok — here's my initial shape:
- Cuboid
- 7cm x 3cm x 3cm
- Central push to talk button (square with rounded corners)
- Thin LED strip on a whole circumference (middle height, parameter for how thick and how bright)
Materials:
- I want to see different materials used in high end industrial design
- Use different types of high end materials common in technology devices
- Also come up with some first principled views on new materials from other domains
Other than that:
- I want parameters that define the shape, button, and LED strip
- I want beautiful product shot renders
The script is ready at cube_render.py. Everything you asked for is a named parameter at the top: body dimensions, corner/edge radii, button size + corner radius + how proud it sits, LED strip height/thickness/brightness/color, plus camera angle and lens. The studio itself is code too — a seamless cyclorama backdrop with key/fill/rim lighting.
Material variants included (each renders as its own product shot, with a contrasting button material and its own LED tint):
- Tech classics: anodized aluminum (satin, slightly anisotropic like machined finish), bead-blasted titanium (ice-blue LED), soft-touch matte black polymer, polished white ceramic with steel button.
- First-principles imports from other domains:
- Forged carbon (from watchmaking/supercars) — marbled chopped-fiber composite under clearcoat. Rationale: reads premium without being cold metal, and every unit gets a unique pattern — nice for a personal device.
- Mineral terrazzo (from architecture/countertops, with a brass button) — stone-like speckled composite. Rationale: mass and permanence; a countertop device should feel like it belongs to the countertop's material family.
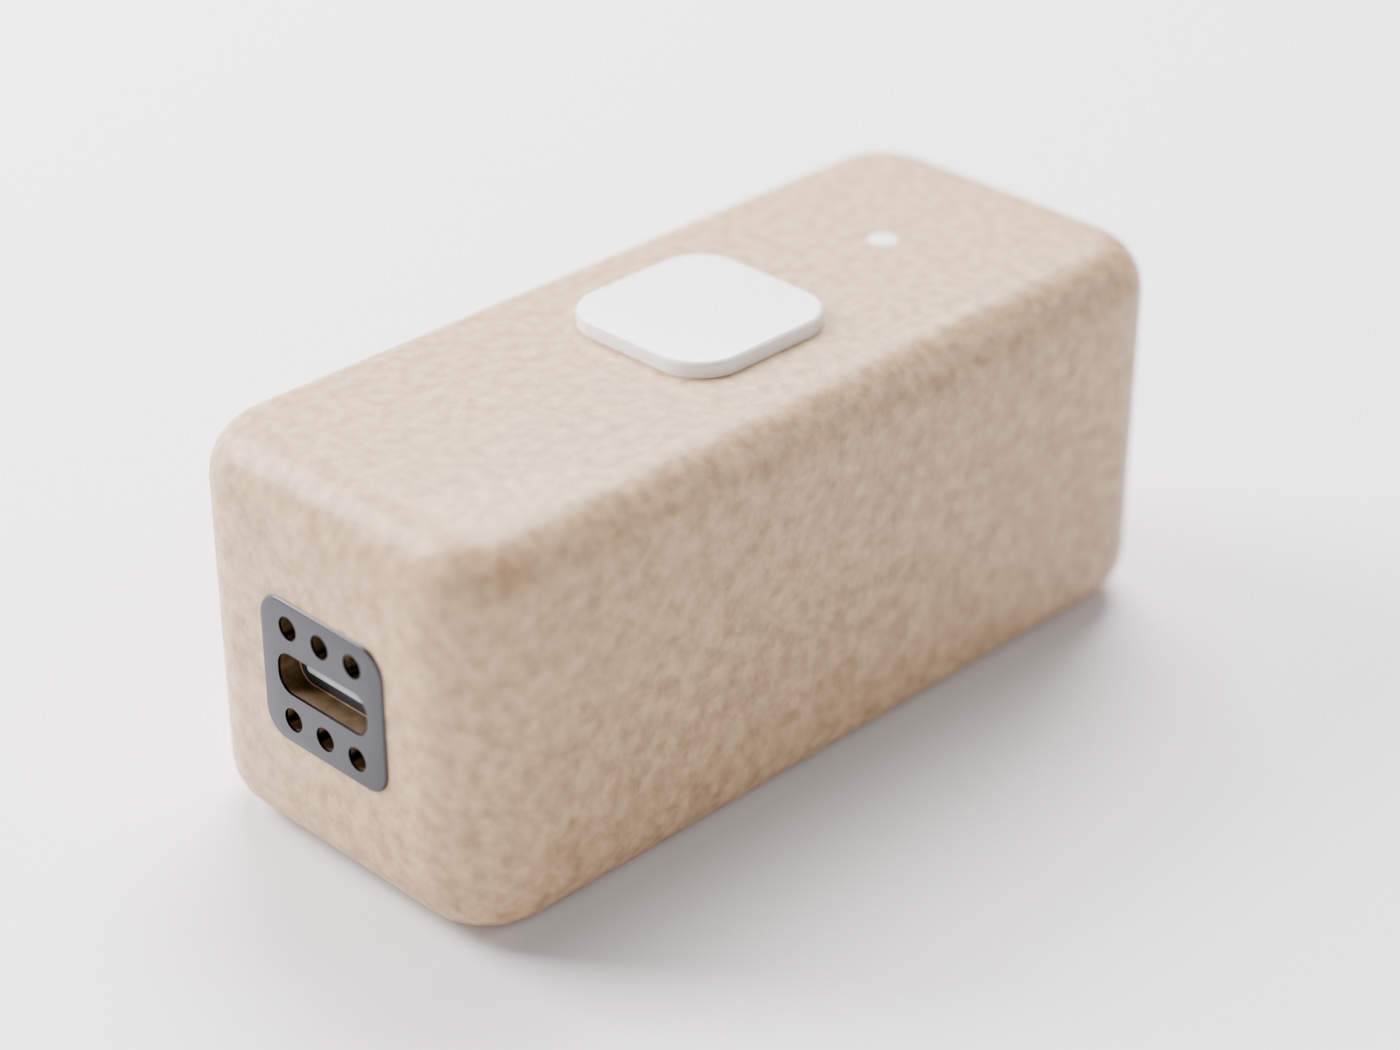
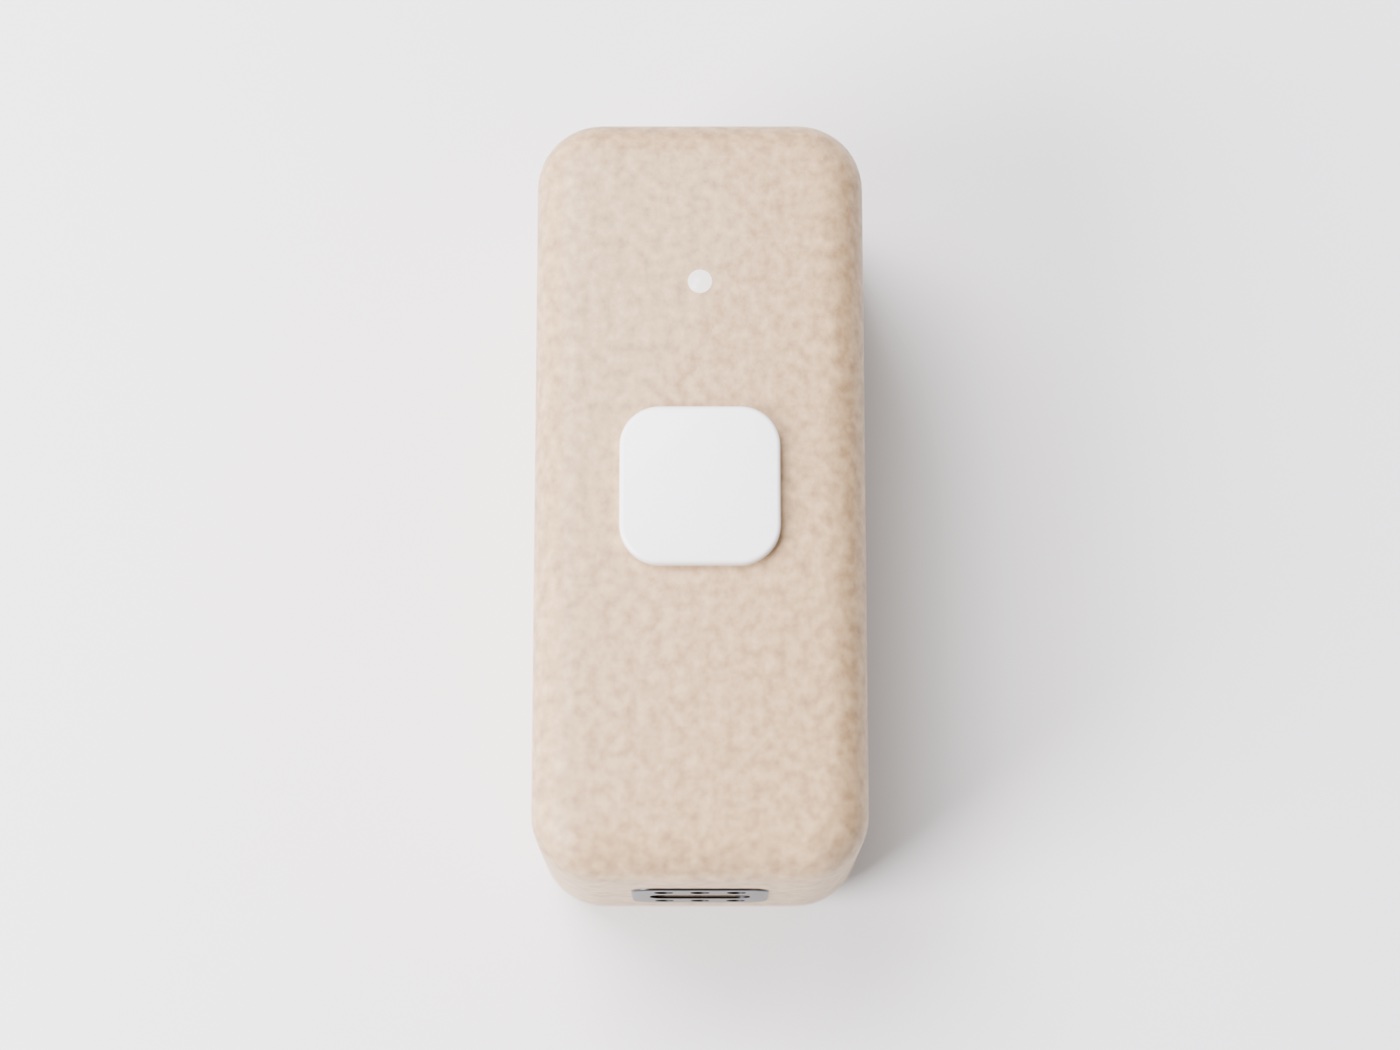
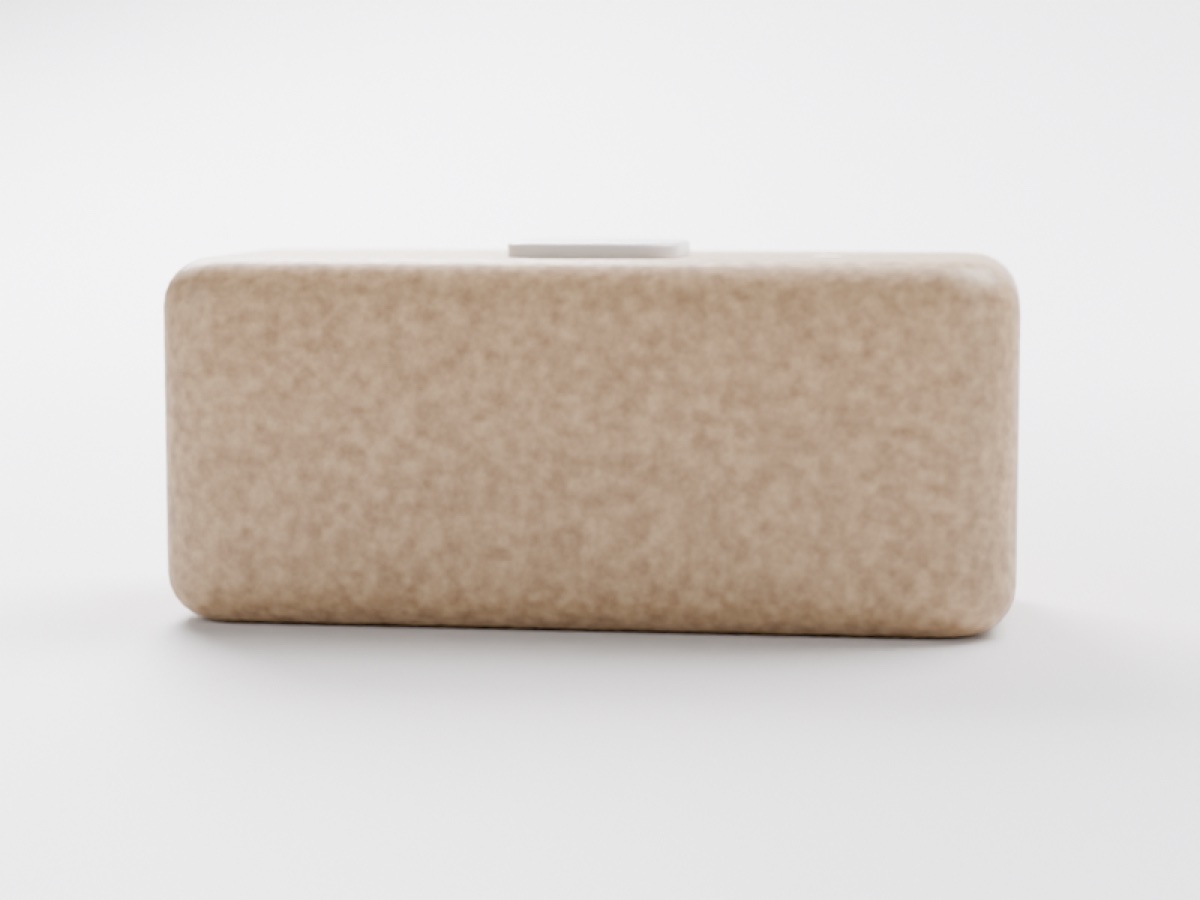
- Cork (from furniture/flooring) — warm, tactile, acoustically absorbent (genuinely functional for a speaker: damps cabinet resonance), sustainable, and it patinas rather than scratches.
- Woven fabric (Kvadrat-style, from textiles/furniture) — acoustically transparent, soft in a home context; the proven "domesticated tech" move.
The loop is proven end-to-end. Blender 5.2 installed, and cube_render.py builds your device entirely from code: I already went through three iterations (overexposed lights → fixed; whole-image blur from too-shallow depth of field → f/11) by rendering, looking at the PNG myself, and adjusting parameters — which is exactly the agent workflow you asked about.
Everything is a parameter at the top of the script: body 70×30×30 mm with corner/edge radii, button size + corner radius + how proud it sits, LED band height-on-body/thickness/brightness/color, camera azimuth/elevation/lens/f-stop, resolution and samples. The studio (seamless cyclorama, key/fill/rim lights) is code too.
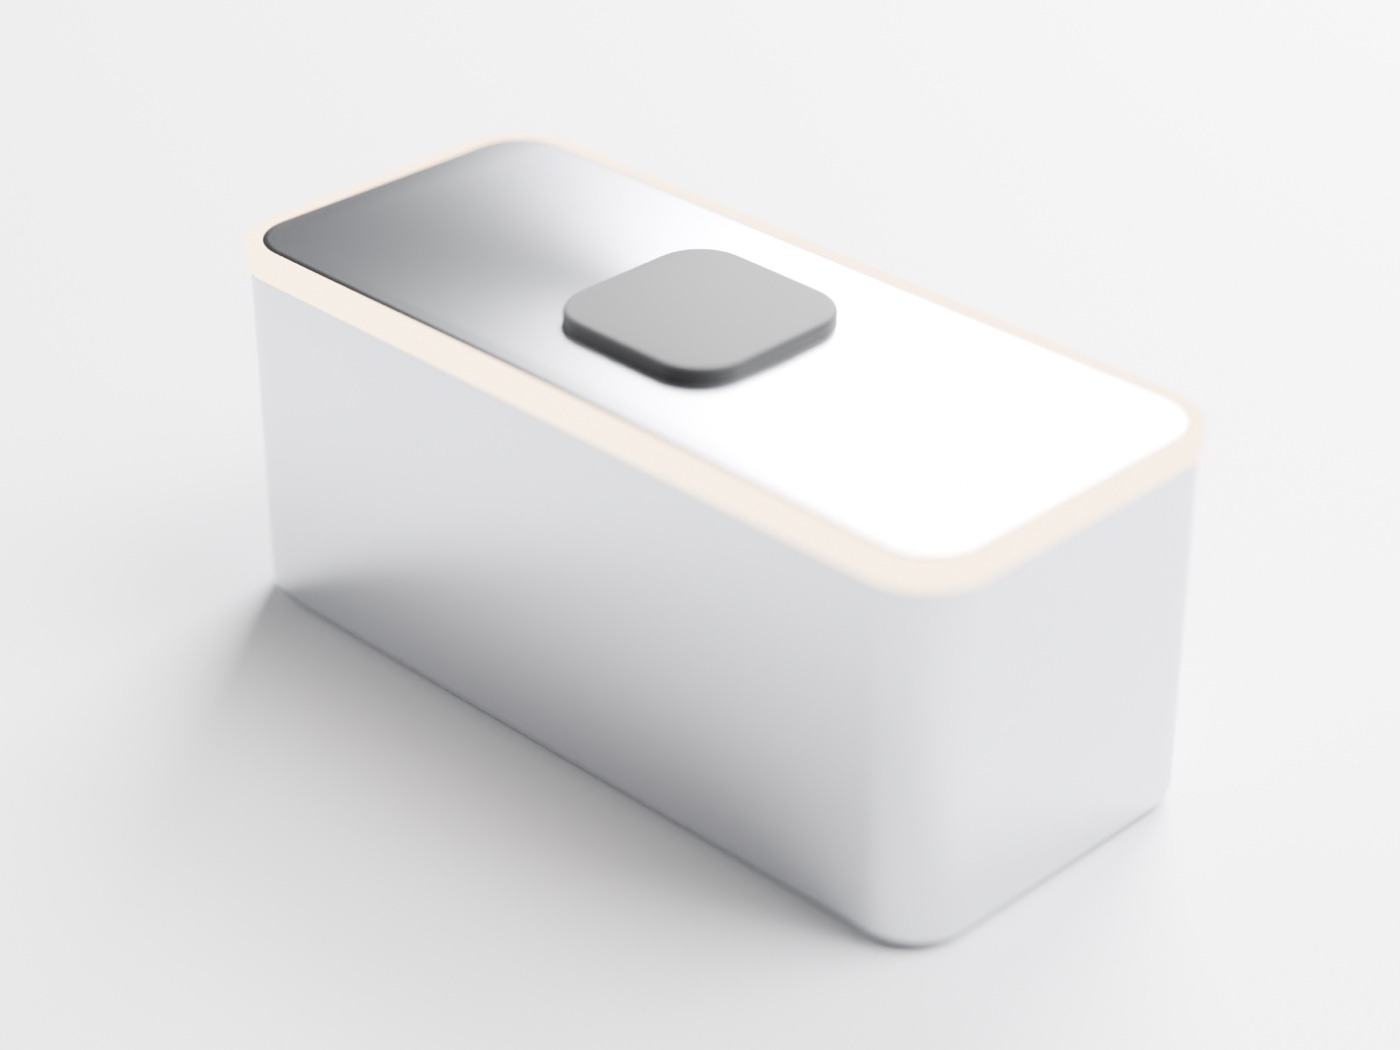
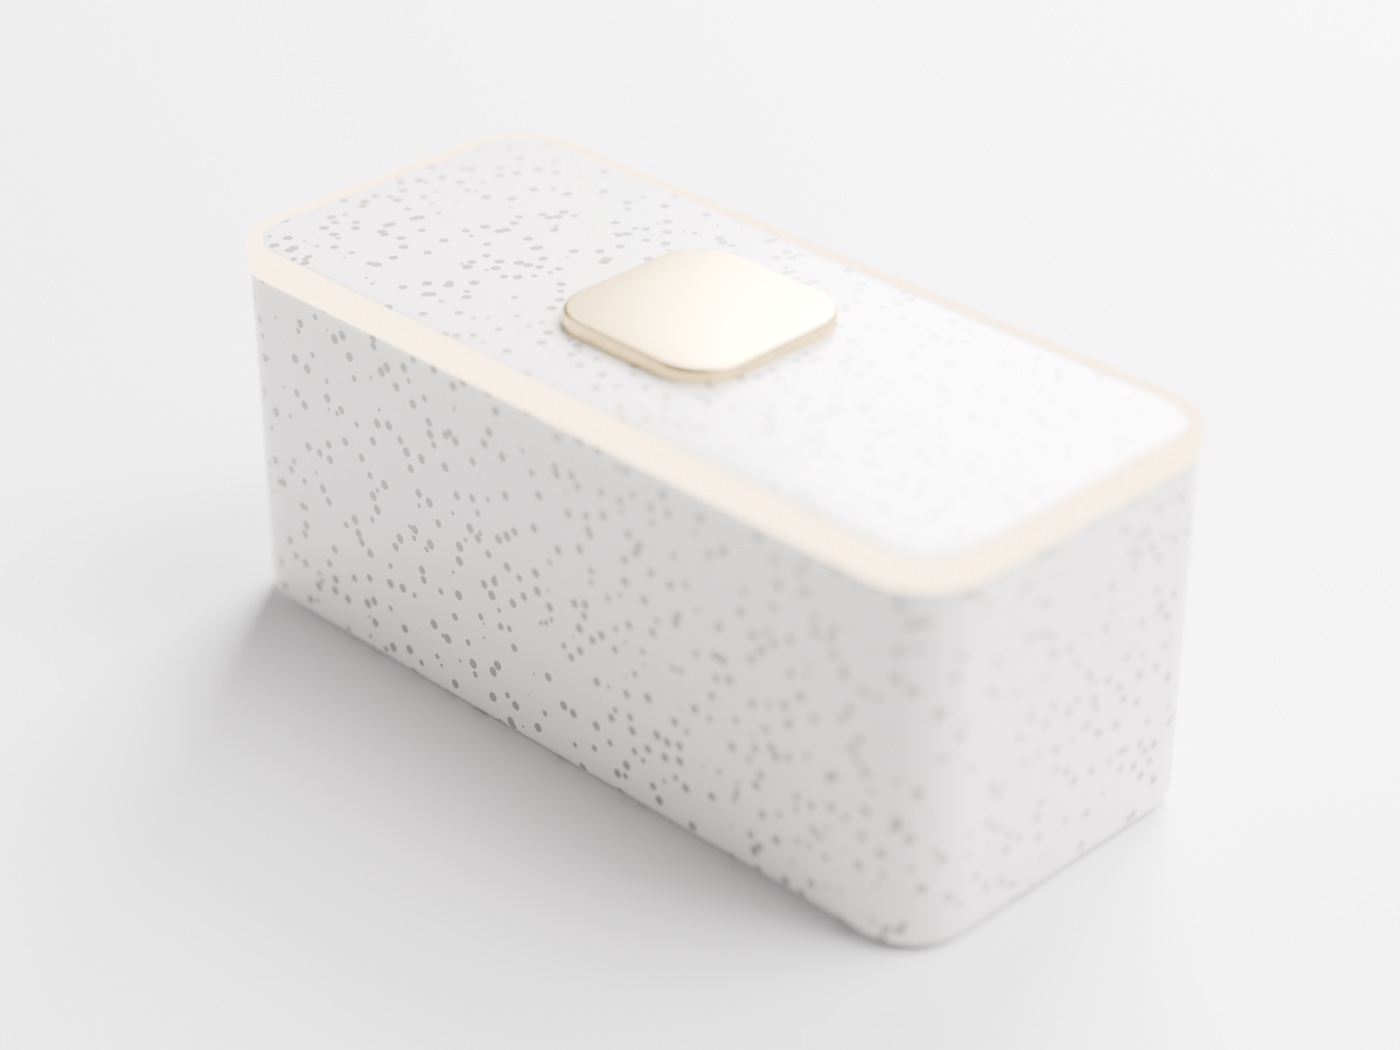
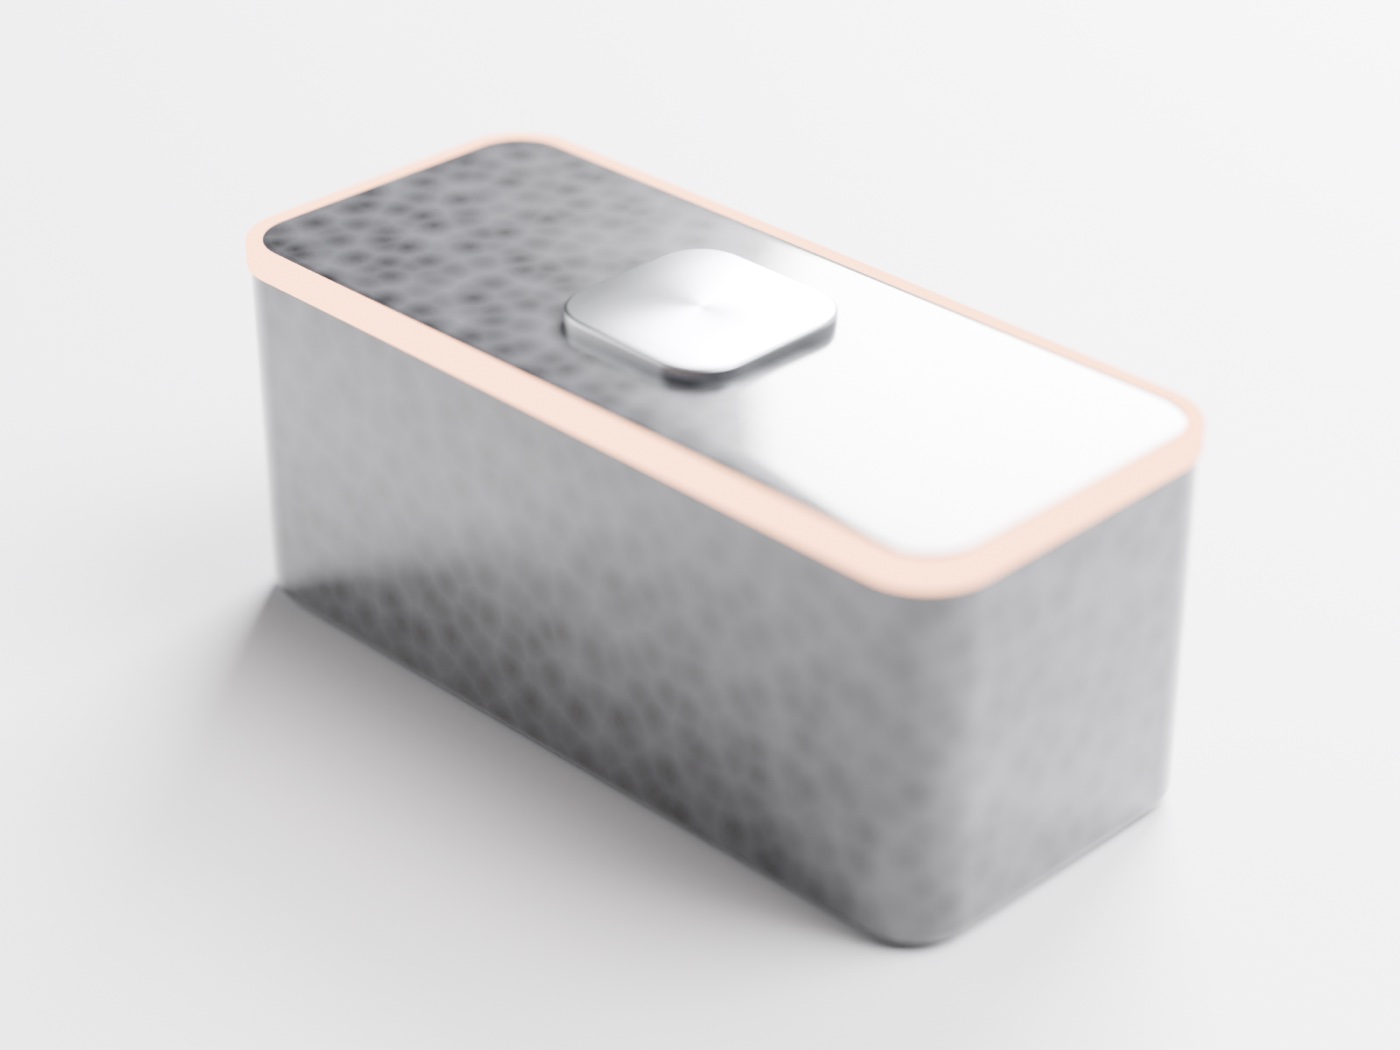
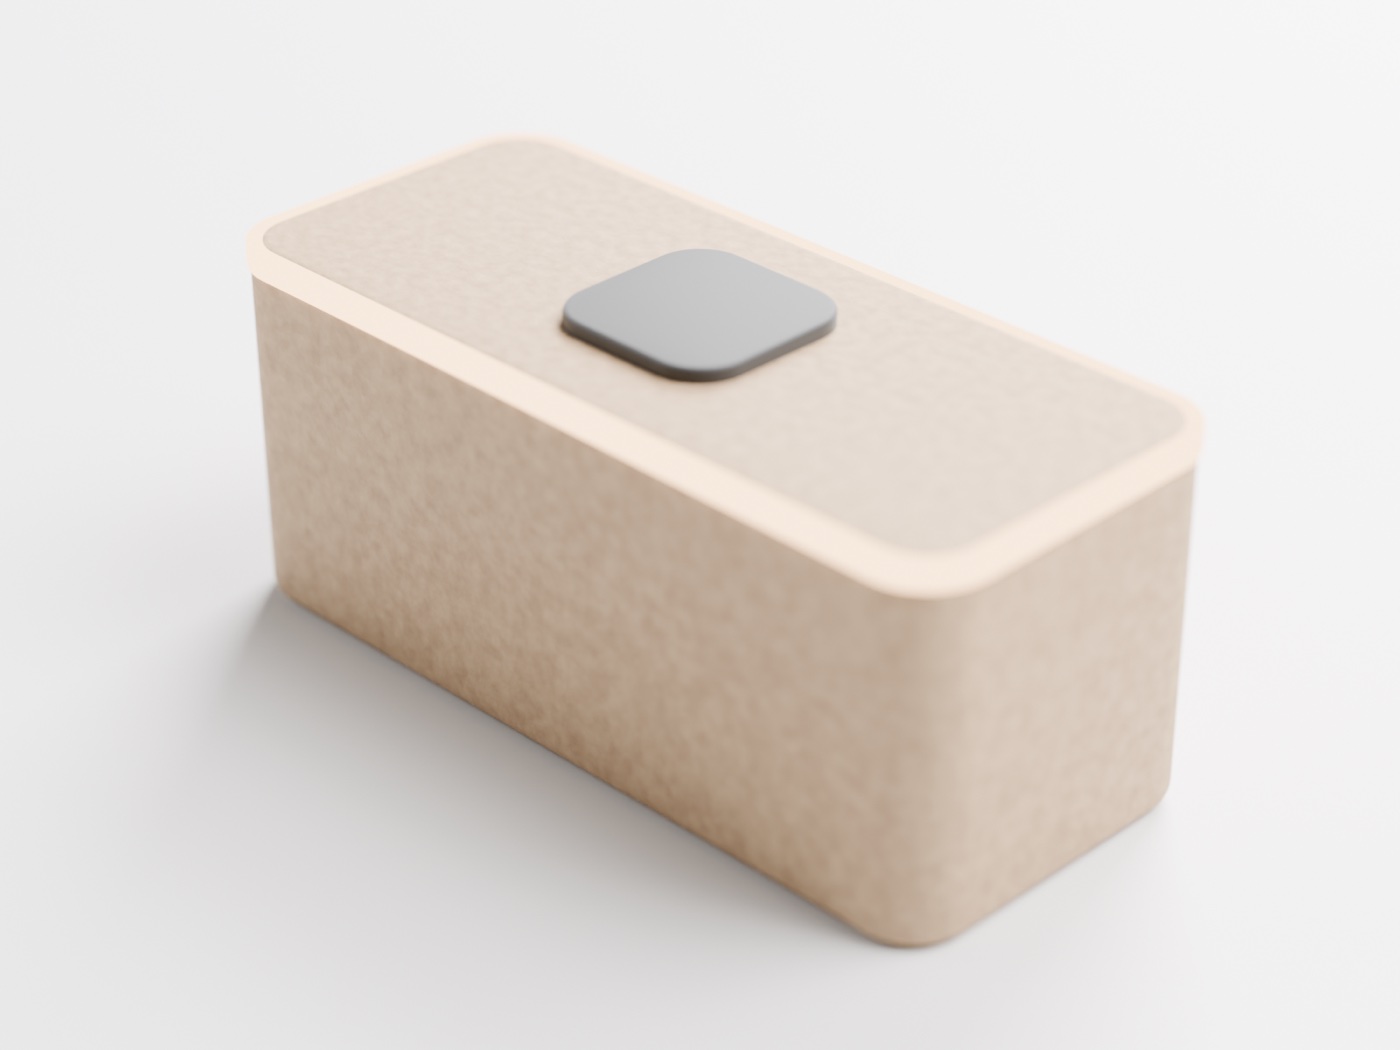
The full eight-material set renders; a coplanar-geometry bug and several lighting issues get found and fixed by inspecting the renders.
Ok — I can already tell I want the LED strip to be at the circumference of the top edge and on the plane of the top surface, not the middle of the width.
Why does the top look like a distinct material in some of the renders?
Also, I need an angle that is a bit more "45 degrees" on the object, so I can see all sides clearly.
What changed:
- LED position: the band's top surface now sits exactly on the top plane, wrapping the circumference of the top edge. A new
led_top_insetparameter lets you slide it down from the edge if you ever want a reveal gap. - Camera: azimuth 27°→45° and elevation 16°→30°, so you see the top face and both visible sides clearly — the classic three-quarter hero view.
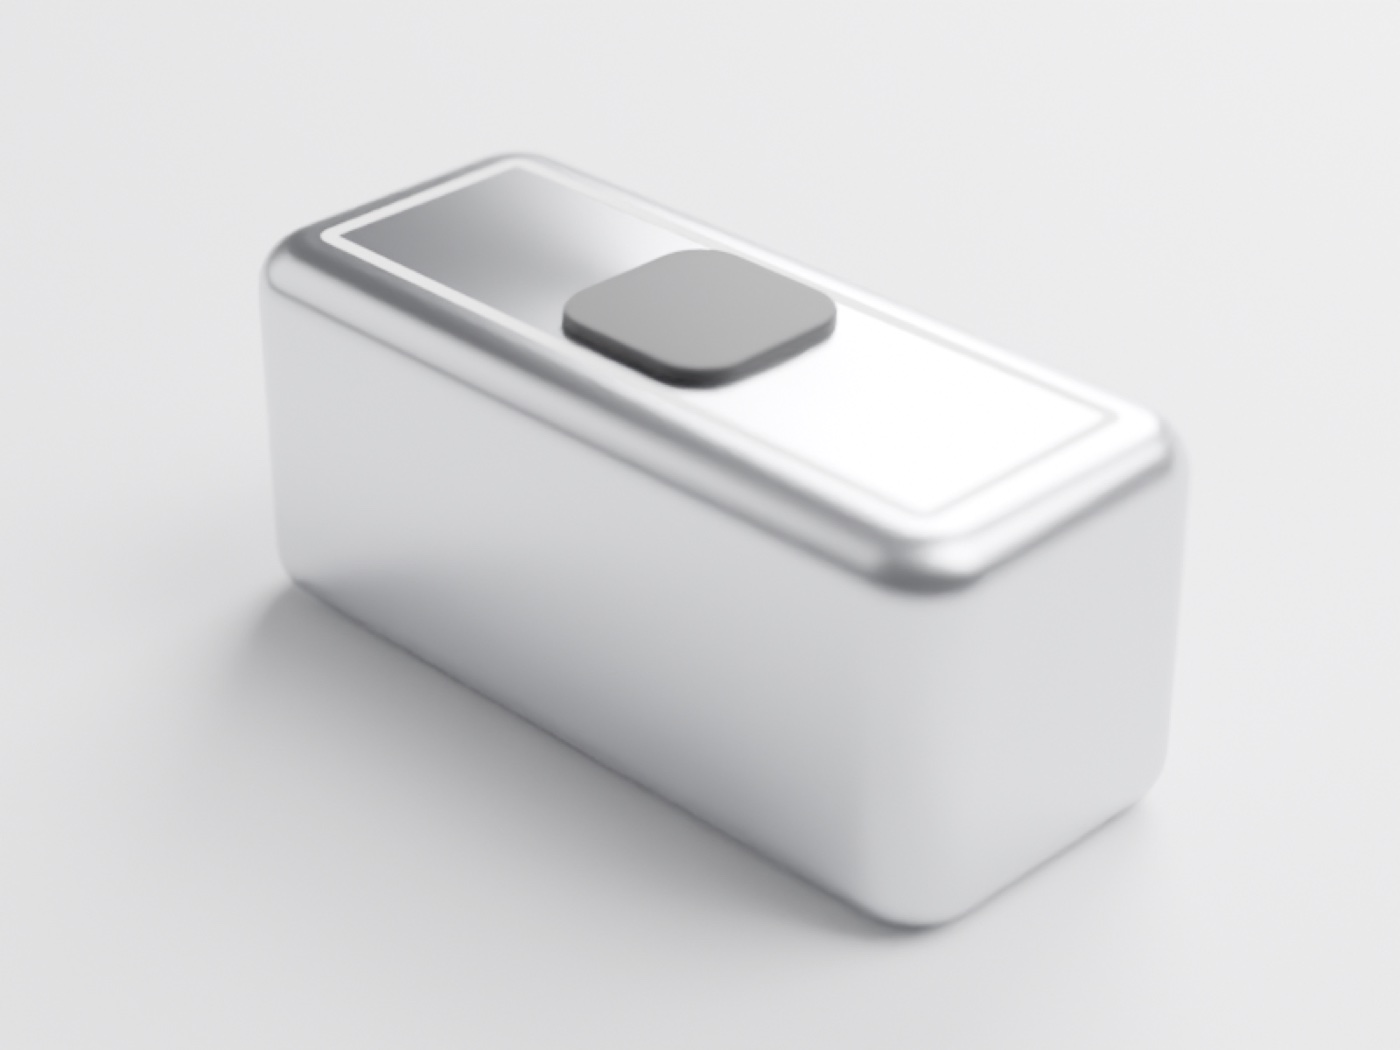
Why the top looked like a different material: it isn't — it's the physics of glossy surfaces. A reflective face acts like a tinted mirror of whatever it faces: the top face reflects the big bright softbox and white backdrop overhead, while the side faces reflect the darker surroundings at grazing angles. On the metals and the clearcoated forged carbon this contrast is extreme, so the top reads as "chrome" while the sides read as "satin gray" — same shader, different reflection targets. Real product photography has exactly this property (photographers spend most of their time controlling what reflects into each face, not the object itself). The matte materials (cork, fabric, terrazzo) barely show the effect, which is why their tops look consistent.
If the material looks different at the top — is a solution to add a lot of diffuse light sources (that roughly add up to normal room level brightness)?
I want to focus on materials that are at the relative high end but not super high end (say ceramic is probably too expensive?). Anodized aluminum roughly at cost level (maybe plus minus 2x from that... not sure).
For every material — add another shot (almost top down).
Yes — your diffuse-light intuition is exactly right, with one refinement. The top face looked different because glossy surfaces mirror whatever they face, and in a studio setup the top faces a bright softbox while the sides face darkness. Adding many diffuse sources evens this out — but the cleanest implementation isn't dozens of lamps: it's making the environment itself emit light (a uniform bright dome around the whole scene, which is what "room-level ambient" physically is — light bouncing off walls and ceiling at you from every direction). That's now a parameter: ambient_strength sets a soft gray dome at roughly room brightness, and I dimmed the directional lights to sit on top of it. Every face now reflects approximately the same thing, so the material reads uniformly. The tradeoff is real, though: perfectly even light means fewer highlights and less "drama," which is why product photographers keep some directional key.
The new cost-anchored material set (anodized aluminum ≈ 1x as the anchor): stainless steel ~1x, fabric wrap ~1x, walnut veneer ~1–1.5x, terrazzo/solid-surface ~1.5–2x at the top of the range, and soft-touch (~0.5x), cork (~0.5x), recycled-plastic speckle (~0.7x) below the anchor. Dropped as too expensive: polished ceramic (zirconia-class, 3–5x), titanium (2–4x), forged carbon (3x+). The recycled speckle is the new first-principles entry — muted multicolor flecks in a gray matrix, the "Patagonia of tech" look, and genuinely cheap.
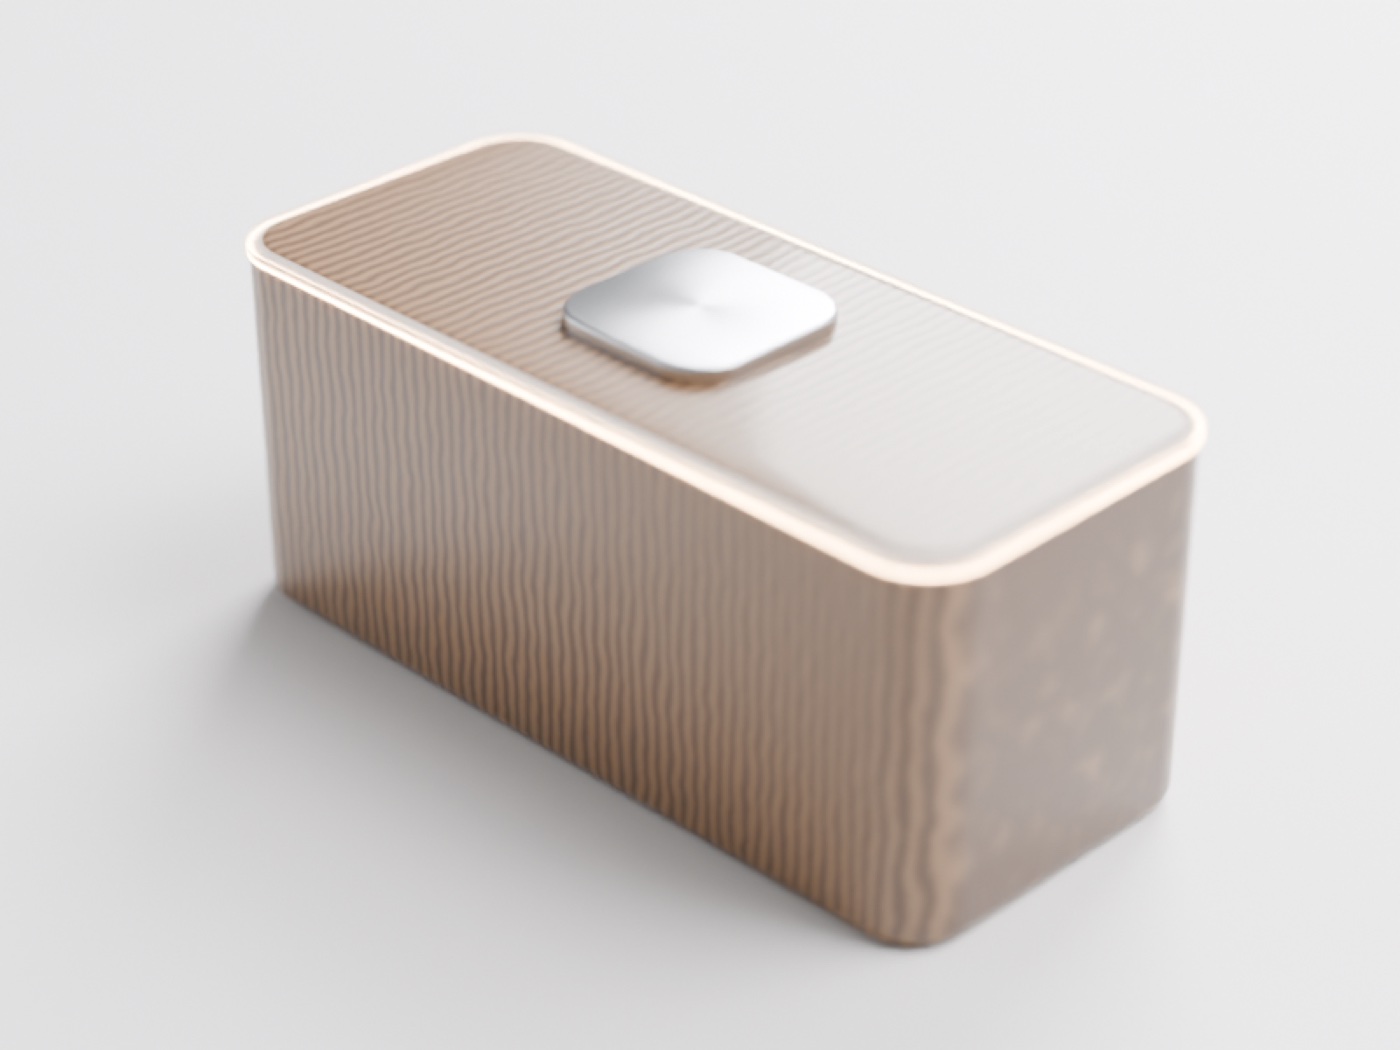
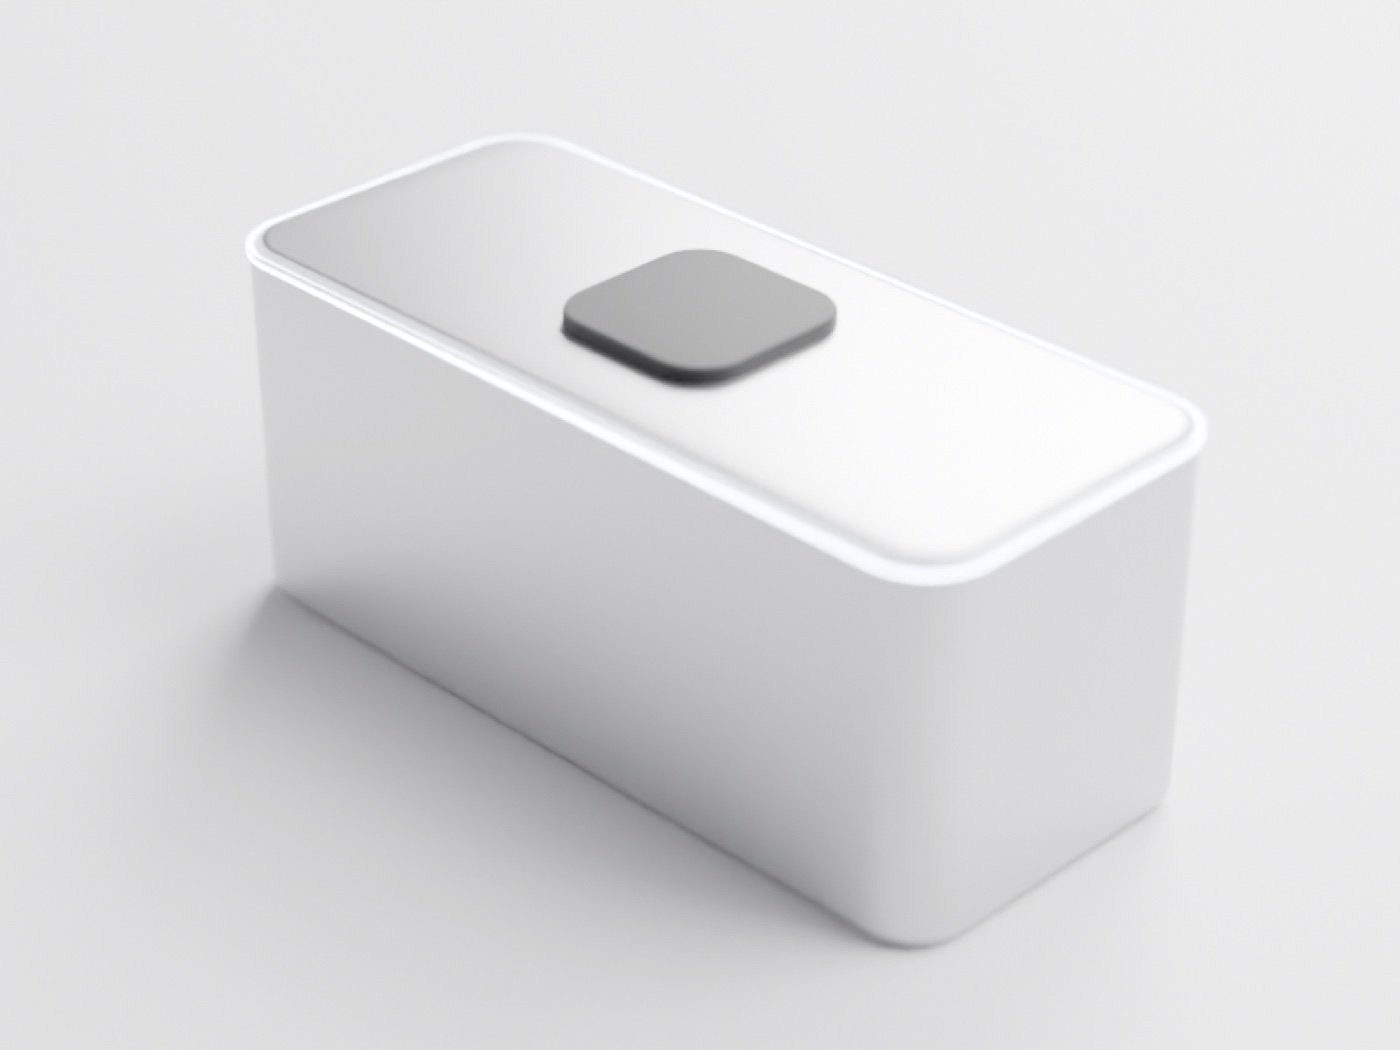
Rounds of iteration follow — more camera views, a ~7s fast-render path, per-view focus fixes, and an LED redesign after it glowed sideways from the side shot.
I want to keep only these materials:
- Cork
- Anodized aluminum — 3 colors (the aluminum neutral silver color, and a blue and pink that would work for kids — whatever kids like now in terms of exact shade)
- Terrazzo
- Well finished plastic (as high end as reasonable in a product like this — COGS of anodized aluminum) — also in the same 3 colors as the aluminum
Also questions:
- Can light diffuse through cork realistically? Through anodized aluminum? Our other materials?
Your diffusion question — this is where render-land and physics-land diverge, and it matters for this design:
- Cork: no. Real cork is opaque; light won't pass through any practical wall thickness. A "glowing cork" render is a lie unless the glow comes from a cutout with a diffuser insert — which is exactly what our flush dot models: a drilled hole with a frosted plug sitting flush. So the current design is honest for cork.
- Anodized aluminum: absolutely not — metal is opaque at a few microns. But there's a beautiful industry trick: laser micro-perforation (the old MacBook sleep light). Hundreds of ~50 µm holes, invisible when off, a soft glowing dot when lit, surface stays perfectly smooth metal.
- Plastic: yes, gloriously — this is the light-diffusing material. At 1–2 mm wall thickness, polycarbonate/ABS glows softly from behind; virtually every LED indicator you've ever seen works this way. The plastic variants could skip the visible dot entirely: same-color plastic, thinned locally behind the LED, glow appears through the body when active and vanishes when off.
- Terrazzo: surprisingly, yes-ish. Solid-surface mineral composites (Corian-class) transmit light at 1–3 mm — translucent Corian lamps are a whole genre.
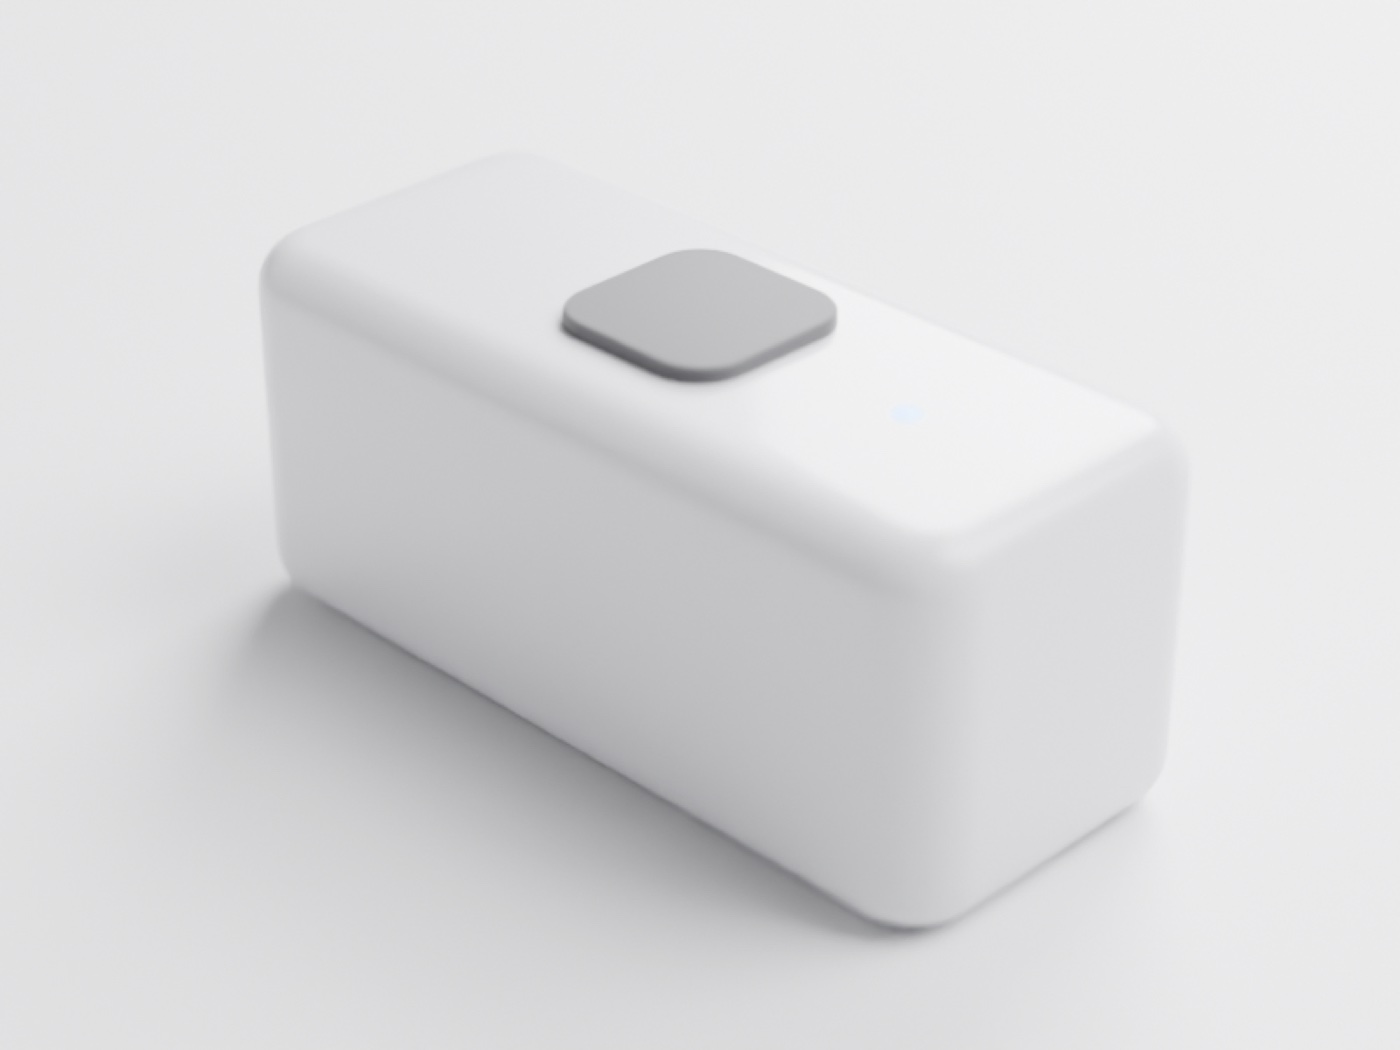
I have a problem with the materials:
- Terrazzo looks great but too specific, I don't think it will be timeless
- Cork I believe could be timeless but I need color control — is there cork in different colors? Including colorized versions with colors for kids? Also in general — do you think cork can work in production in terms of all/most properties needed for such materials?
- Plastic — I like the diffusion but I'm worried it will not be high end
- Aluminum — the perforation does not look good — I think with aluminum we move to a normal LED (not surface diffusion)
Advise me on materials.
Good instincts on all four. Here's my honest read:
Terrazzo — agree, drop it. It's a 2018–2024 trend material; it will date the product the way avocado kitchens date a house. Fun for a limited edition someday, wrong for the mainline.
Cork — yes on colors, cautious on production. Colored cork genuinely exists: the production form is agglomerated cork composite (granules + binder), and it takes pigment — but the substrate is brown, so you get muted, earthy versions of colors: dusty blue, terracotta pink, sage, charcoal (plus the natural range from honey to dark "smoked" via heat treatment). You cannot get bright bubblegum-pink cork; the material fights saturation. For kids that muted palette can actually read as the premium "Scandinavian toy" aesthetic (think Liewood/BIBS colors) rather than the bright plastic aesthetic — a real positioning choice. Production properties: the good — naturally damping (great for a speaker), lightweight, warm to touch, drop-friendly, self-healing on small dents, flame-resistant, sustainable story, ages by patina. The risk — it's porous: it absorbs oils and stains, and kids' hands are grease delivery systems. Sealing fixes hygiene but deadens the tactile warmth that's the whole point. My verdict: viable, but as the eco/limited variant or as a wrap over a plastic chassis — risky as the primary kids' SKU.
Plastic — your worry is valid but solvable, and this is probably your primary material. Plastic reads cheap only when executed cheaply. The premium recipe is well known: color-through material (never painted — paint chips), fine matte mold texture (MT-grade, not gloss — gloss is what reads cheap and shows fingerprints), thick rigid walls so nothing flexes or creaks, crisp consistent radii, no visible parting lines or sink marks, and enough mass that it feels dense. Panic's Playdate is the proof point: bright yellow plastic, unmistakably premium, beloved by kids and adults. Add your diffusion advantage (glow-through-body LED, impossible in metal), drop resistance, and radio transparency, and plastic wins the kids' product on merits, not just cost.
Aluminum — agreed, discrete LED. A normal visible LED window (the small dark flush lens we're already rendering) is the honest, timeless move on metal — it's the Braun/Apple lineage. One production reality: a full-aluminum enclosure blocks WiFi/Bluetooth, so real metal devices always have a plastic window or deck somewhere — which nudges toward a hybrid: aluminum body + plastic top deck.
My recommendation as a lineup: high-grade matte plastic as the kids' mainline (3 colors), anodized aluminum silver with discrete lens as the premium/adult SKU (possibly hybrid top), sealed cork composite in muted tones as an eco/limited edition. All three are timeless registers rather than trends.
Plastic — what did Apple do with the plastic iPhone they did some years ago?
Any other materials we didn't consider?
If cork is porous, how is it used with flooring?
Three good questions:
The plastic iPhone — iPhone 5c (2013). Apple went all-in on engineering: a one-piece polycarbonate unibody with color running through the material, an internal steel skeleton for rigidity (doubling as the antenna), and a hard-coat lacquer giving it a dense, ceramic-like glossy surface. Build quality was genuinely excellent — reviewers consistently said it felt better than its price. And yet it's remembered as "the cheap iPhone." Two lessons: (1) the gloss finish read as toy-like next to the 5s's matte aluminum — which is why every premium plastic product since (Playdate, Teenage Engineering) uses fine matte texture instead; (2) positioning contaminates material perception — the 5c was framed as the budget option, so its plastic became shorthand for "lesser." If your plastic SKU is the designed-for-kids flagship rather than "the cheaper one," it escapes that trap.
Cork flooring vs. porosity. Flooring solves it with sealing: factory-applied UV-cured polyurethane/acrylic topcoats (several thin layers) over high-density agglomerated cork. That's why a cork floor survives shoes, chair legs, and spilled wine for a decade. The honest implication for us cuts both ways: sealed cork is proven robust — under far worse abuse than a hand-held device sees — and it stays wipeable (solves the greasy-kid-hands problem). The cost is tactile: a thin matte seal keeps most of the warmth but loses the raw suede-like dryness of natural cork. So my earlier concern softens: sealed high-density cork composite is production-credible.
Materials we haven't considered: silicone overmold — the biggest omission for a kids' device (grippy, drop-proof, food-grade; the de facto kids-hardware material, though it reads "kid" strongly, less "home object"); recycled/bio plastics (same premium recipe but with a story); zinc die-cast (the sleeper premium option — its weight is the luxury signal, but wrong for a carried kids' device); fabric wrap (the home-speaker heritage material, worth remembering if the cube lives on shelves more than in hands).
Ok — let's focus on matte color-through plastic, cork with the properties you imagine, and anodized aluminum with a dedicated LED.
Colors — one neutral, and two kid friendly colors (blue and pink) — shades that work well with the material and close to kid preferences.
Locking the lineup: 3 materials × 3 colorways (neutral / kid blue / kid pink), each shade tuned to its material — plastic gets true matte fine-texture (dropping the glossy coat), cork gets the sealed-composite treatment with muted dye tints over visible grain, aluminum keeps its dedicated dark-lens LED.
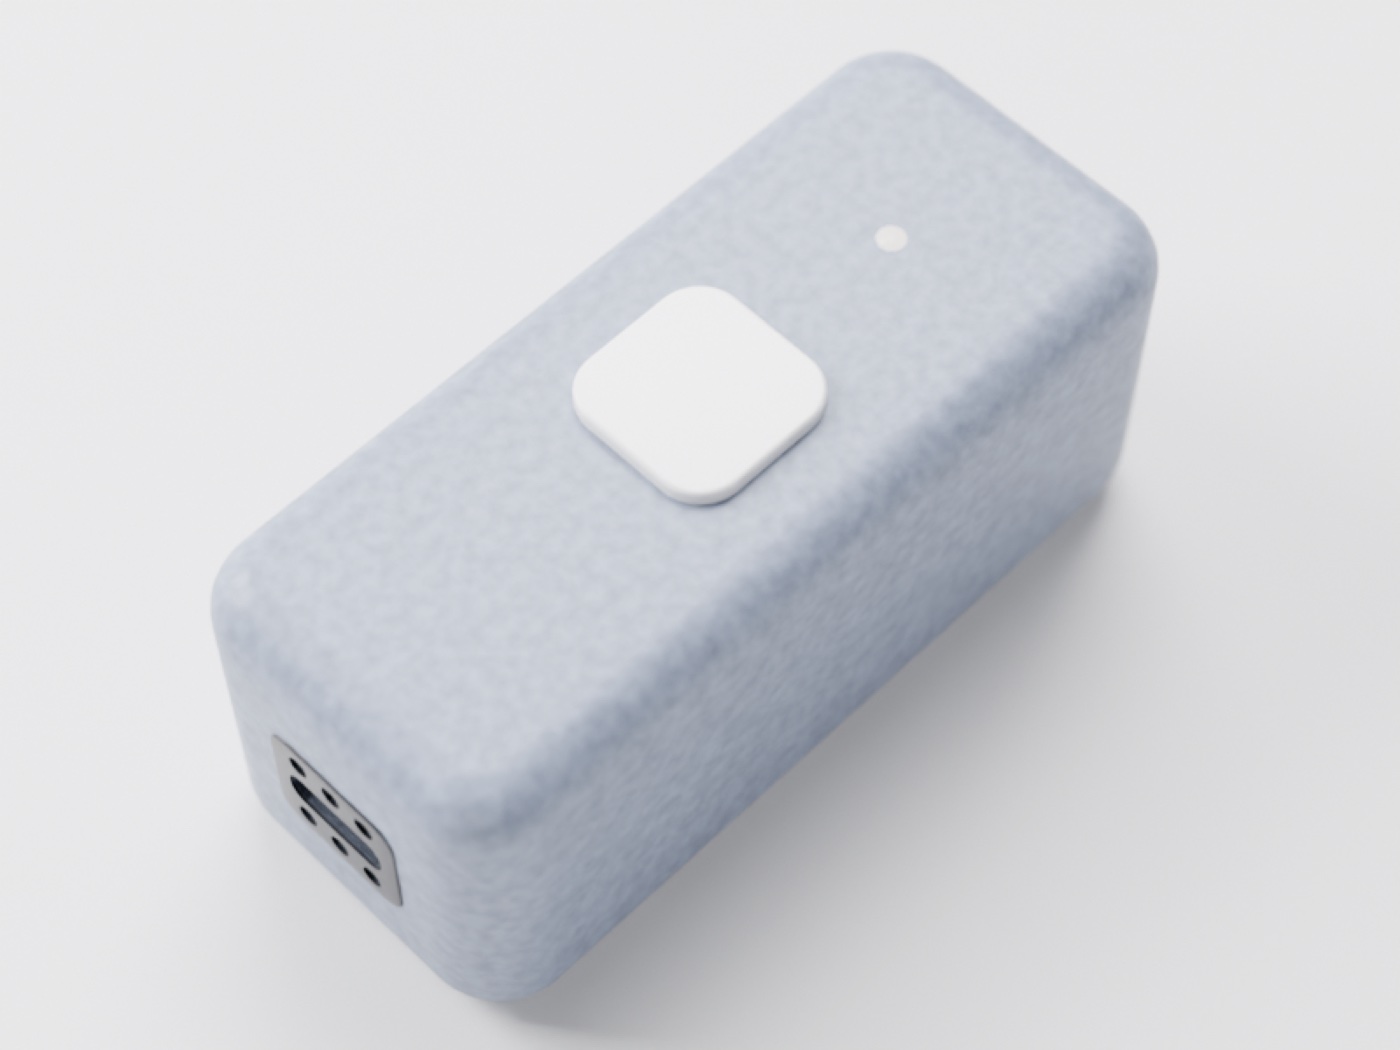
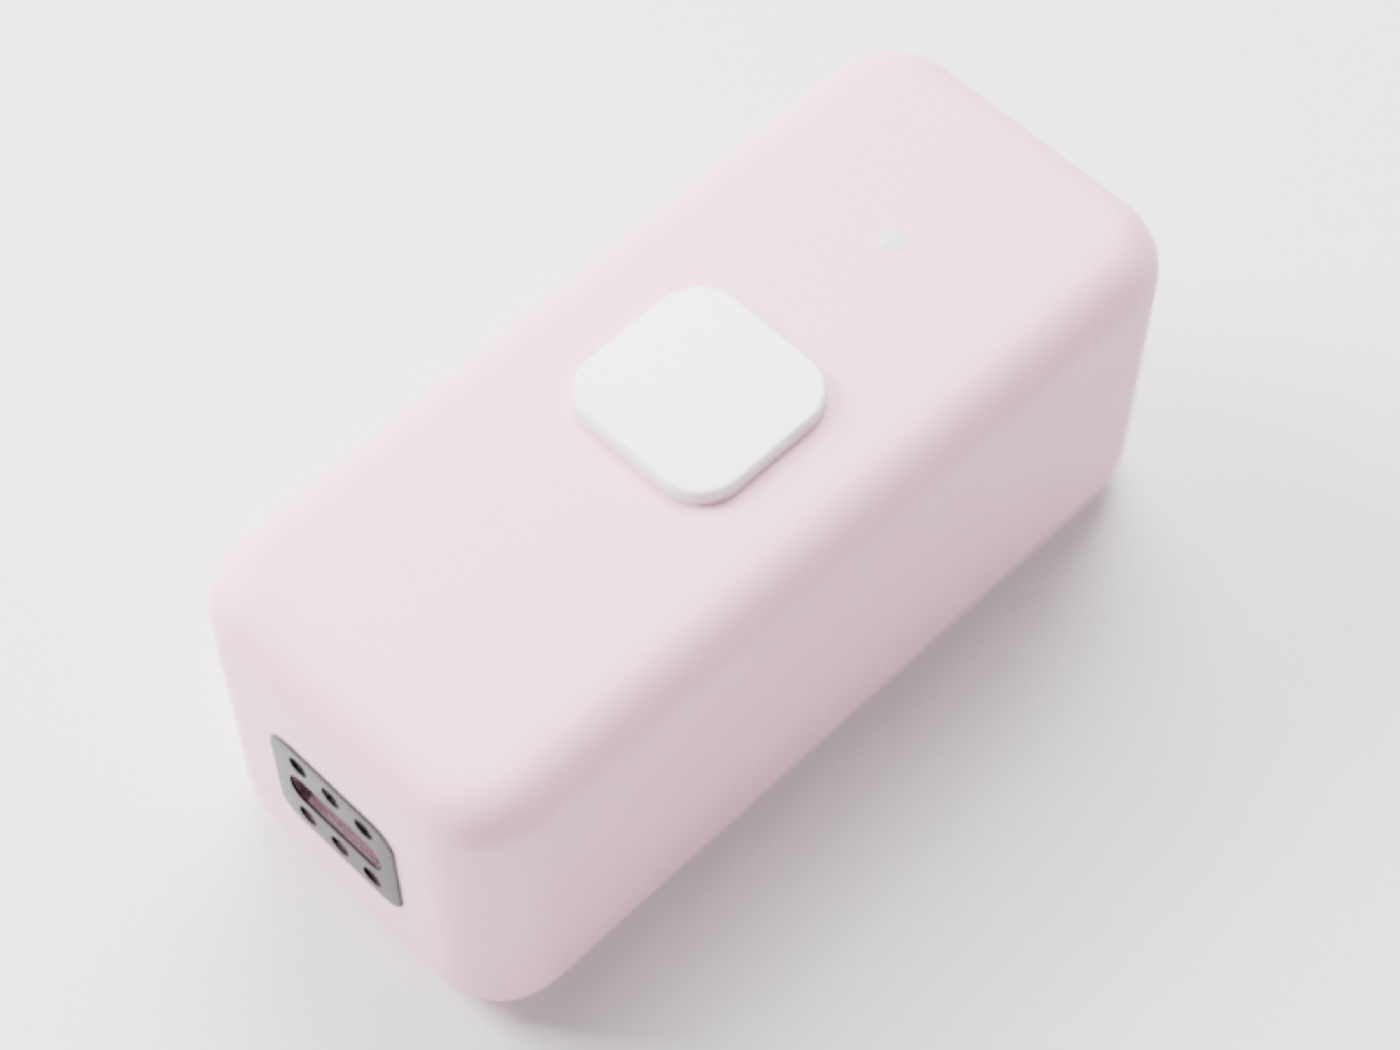
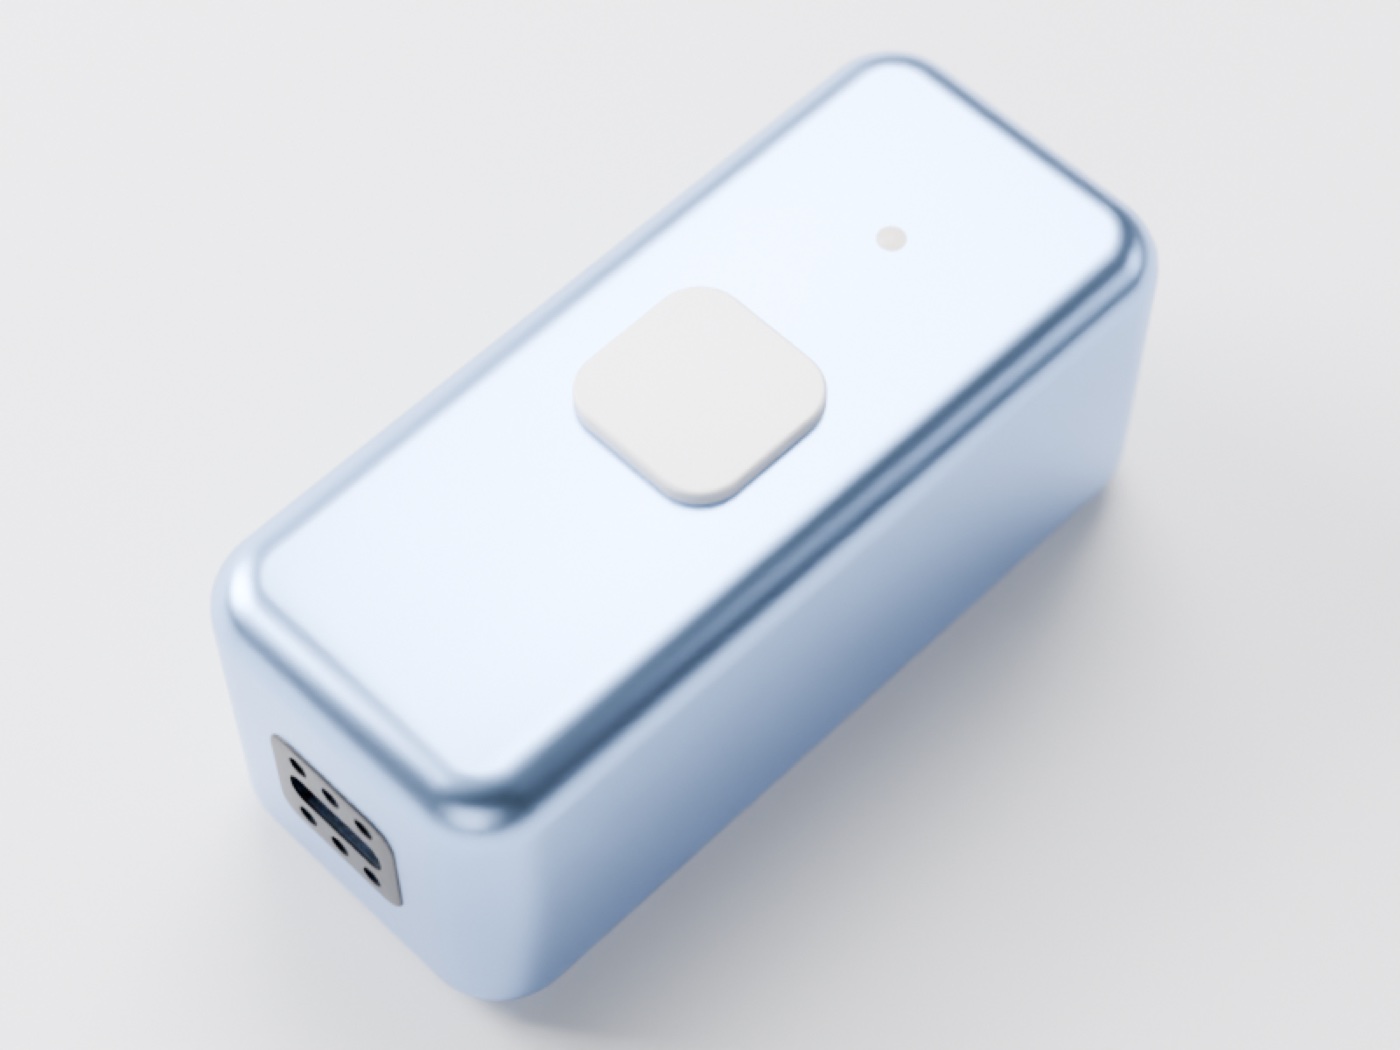
On your cork test — "feels like cork in the hand, clearly distinct": sealed cork passes, with one condition. Cork's distinctiveness in hand comes from four things, and three of them are structural, not surface properties, so no thin coating can remove them:
- Warmth — cork is a thermal insulator; it never feels cold on first touch. Aluminum feels cold, plastic feels neutral-cool, cork feels warm instantly. This survives any seal and is honestly the single biggest "this is cork" signal.
- Give — cork compresses slightly under a squeeze and comes back. A cork-bodied device has a faint, unmistakable softness no rigid plastic has. Structural; survives sealing.
- Lightness — cork is ~4x lighter than the plastic wall it would replace; the density-to-size feel is distinctive. Survives.
- Surface texture/grip — this is the one sealing touches. The granule topology (the bumpy speckle you feel) remains palpable under a thin coat, but the dry, suede-like friction of raw cork gets smoothed toward slightly waxy.
The condition: use a thin, matte, penetrating seal (oil/wax-class or light matte PU, like furniture-grade cork), not the thick glossy multi-layer PU of flooring. With that, someone holding it blind would say "cork" in about one second, from warmth + give alone.